

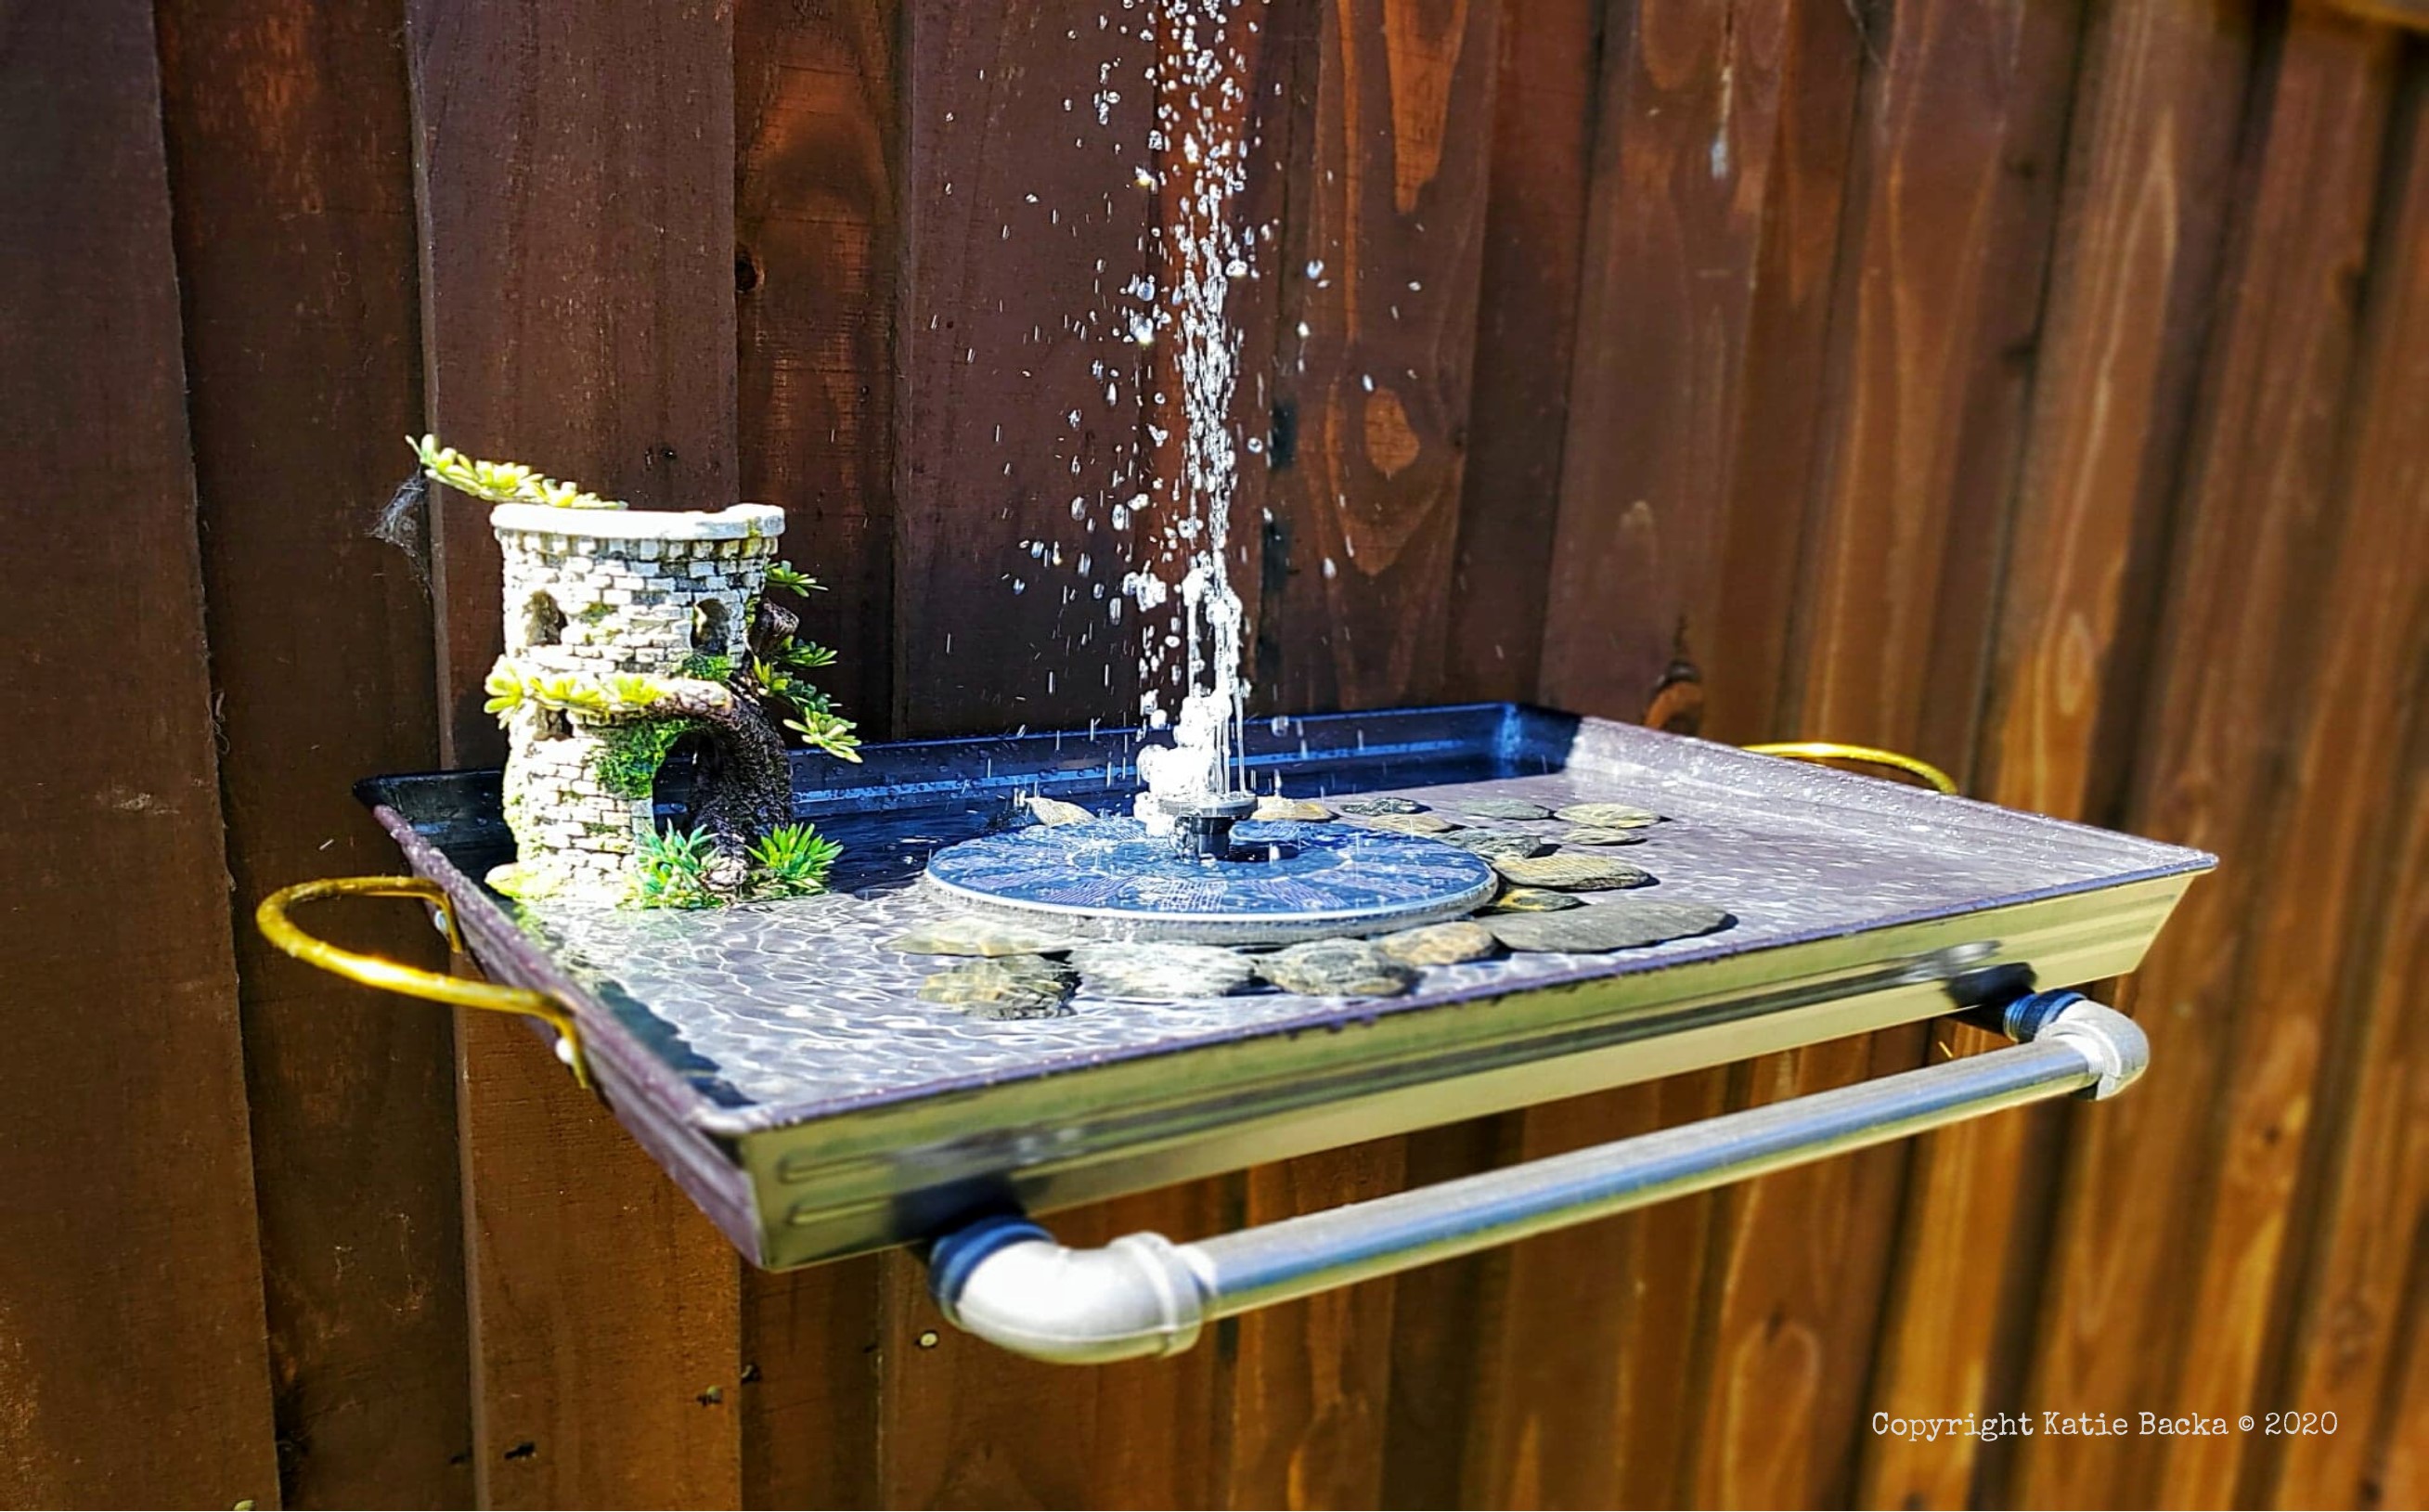
Cute & Simple DIY Bird Bath
June 11, 2020
If you're like me, you love creating an outdoor oasis around your house.
To me - it makes it feel more like "home" if there's lots of plants and wildlife - and the best way to attract more wildlife to your backyard?
Provide them with food, shelter, and water.
Plus, adding a water feature to your backyard feature isn't just good for wildlife - it's also good Feng Shui for you!
Unfortunately though, many bird baths with a water fountain are incredibly expensive, and require a cord to power them.
Most bird baths are also not always user-friendly for teeny guys, like hummingbirds - so I wanted to make a bird bath that was more compact and shallow (this tray is only 2" deep).
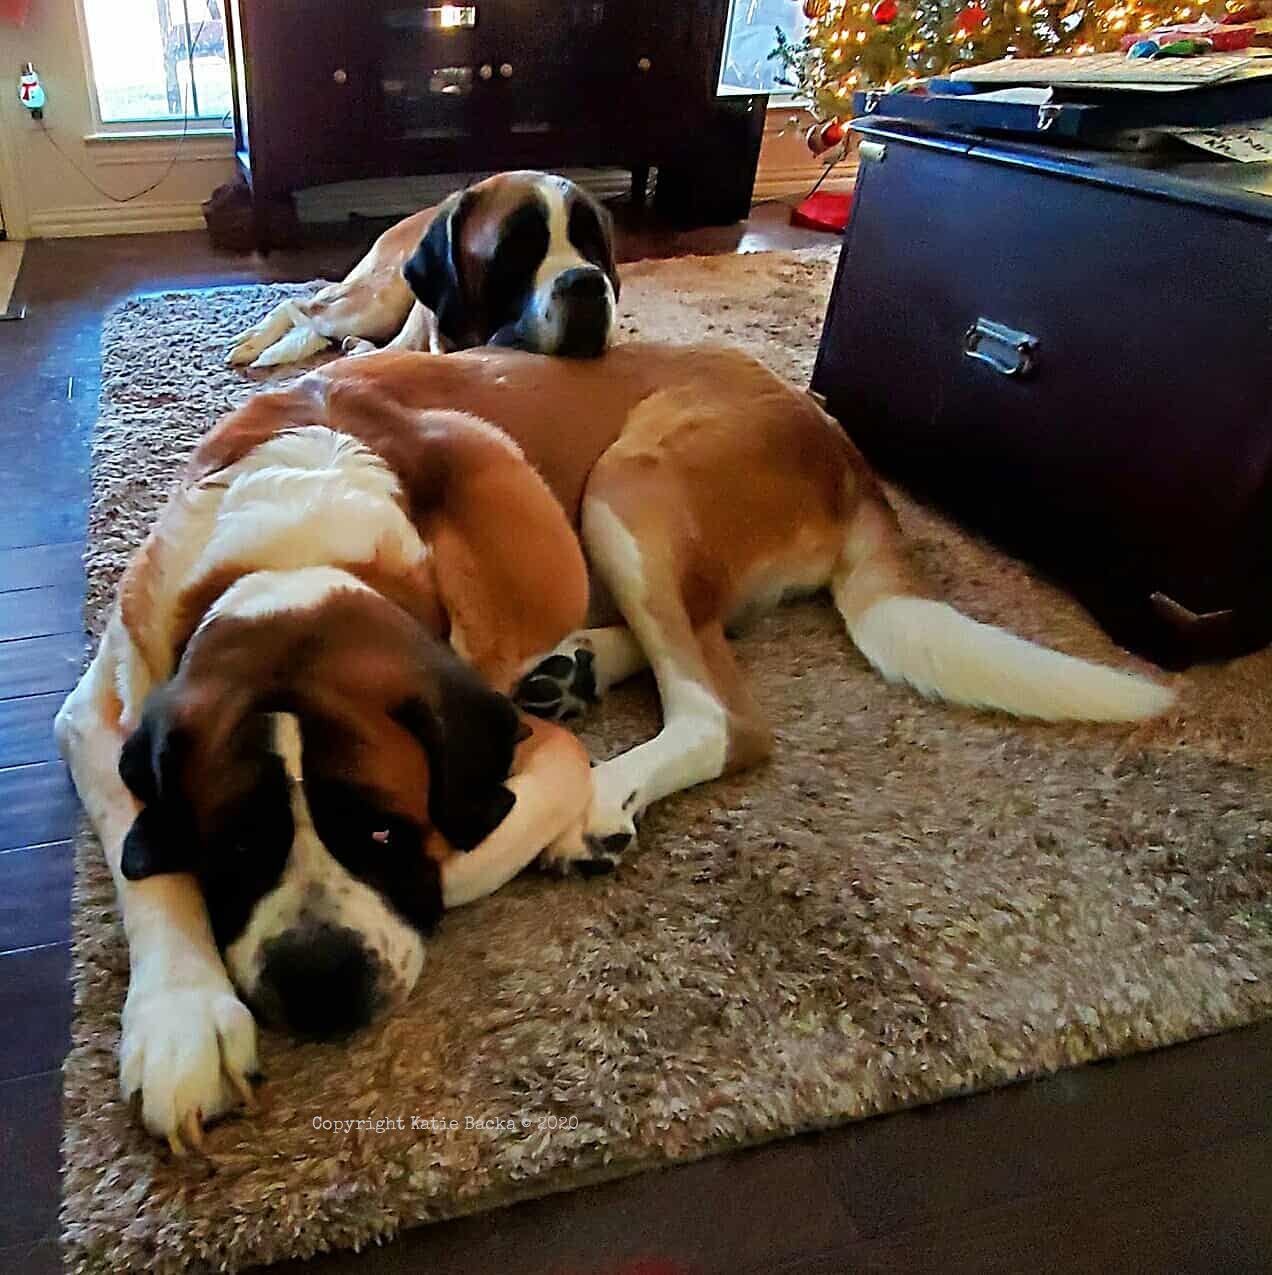
And as those of you with BIG fuzzbutts in the family [2 Saint Bernards in ours!] will appreciate - we also didn't want to have a bird bath that could be knocked over, peed on, or drunk out of...LOL
So I decided to create my own!
Here's what I used:
Total cost: $66.19
You'll also need 8 screws to attach the pipe shelf, but the type and size will depend on where and what you're mounting it to.
I actually had the resin bonsai tower and river rocks on hand from previous projects - so I totally encourage you to use what you already have around the house to decorate if you need to save a few bucks!
KEEP IN MIND!
Water weighs 8.34 pounds PER GALLON...
So if you decide to use a different container for the bath itself - you have to accommodate the WEIGHT!!!
Step 1
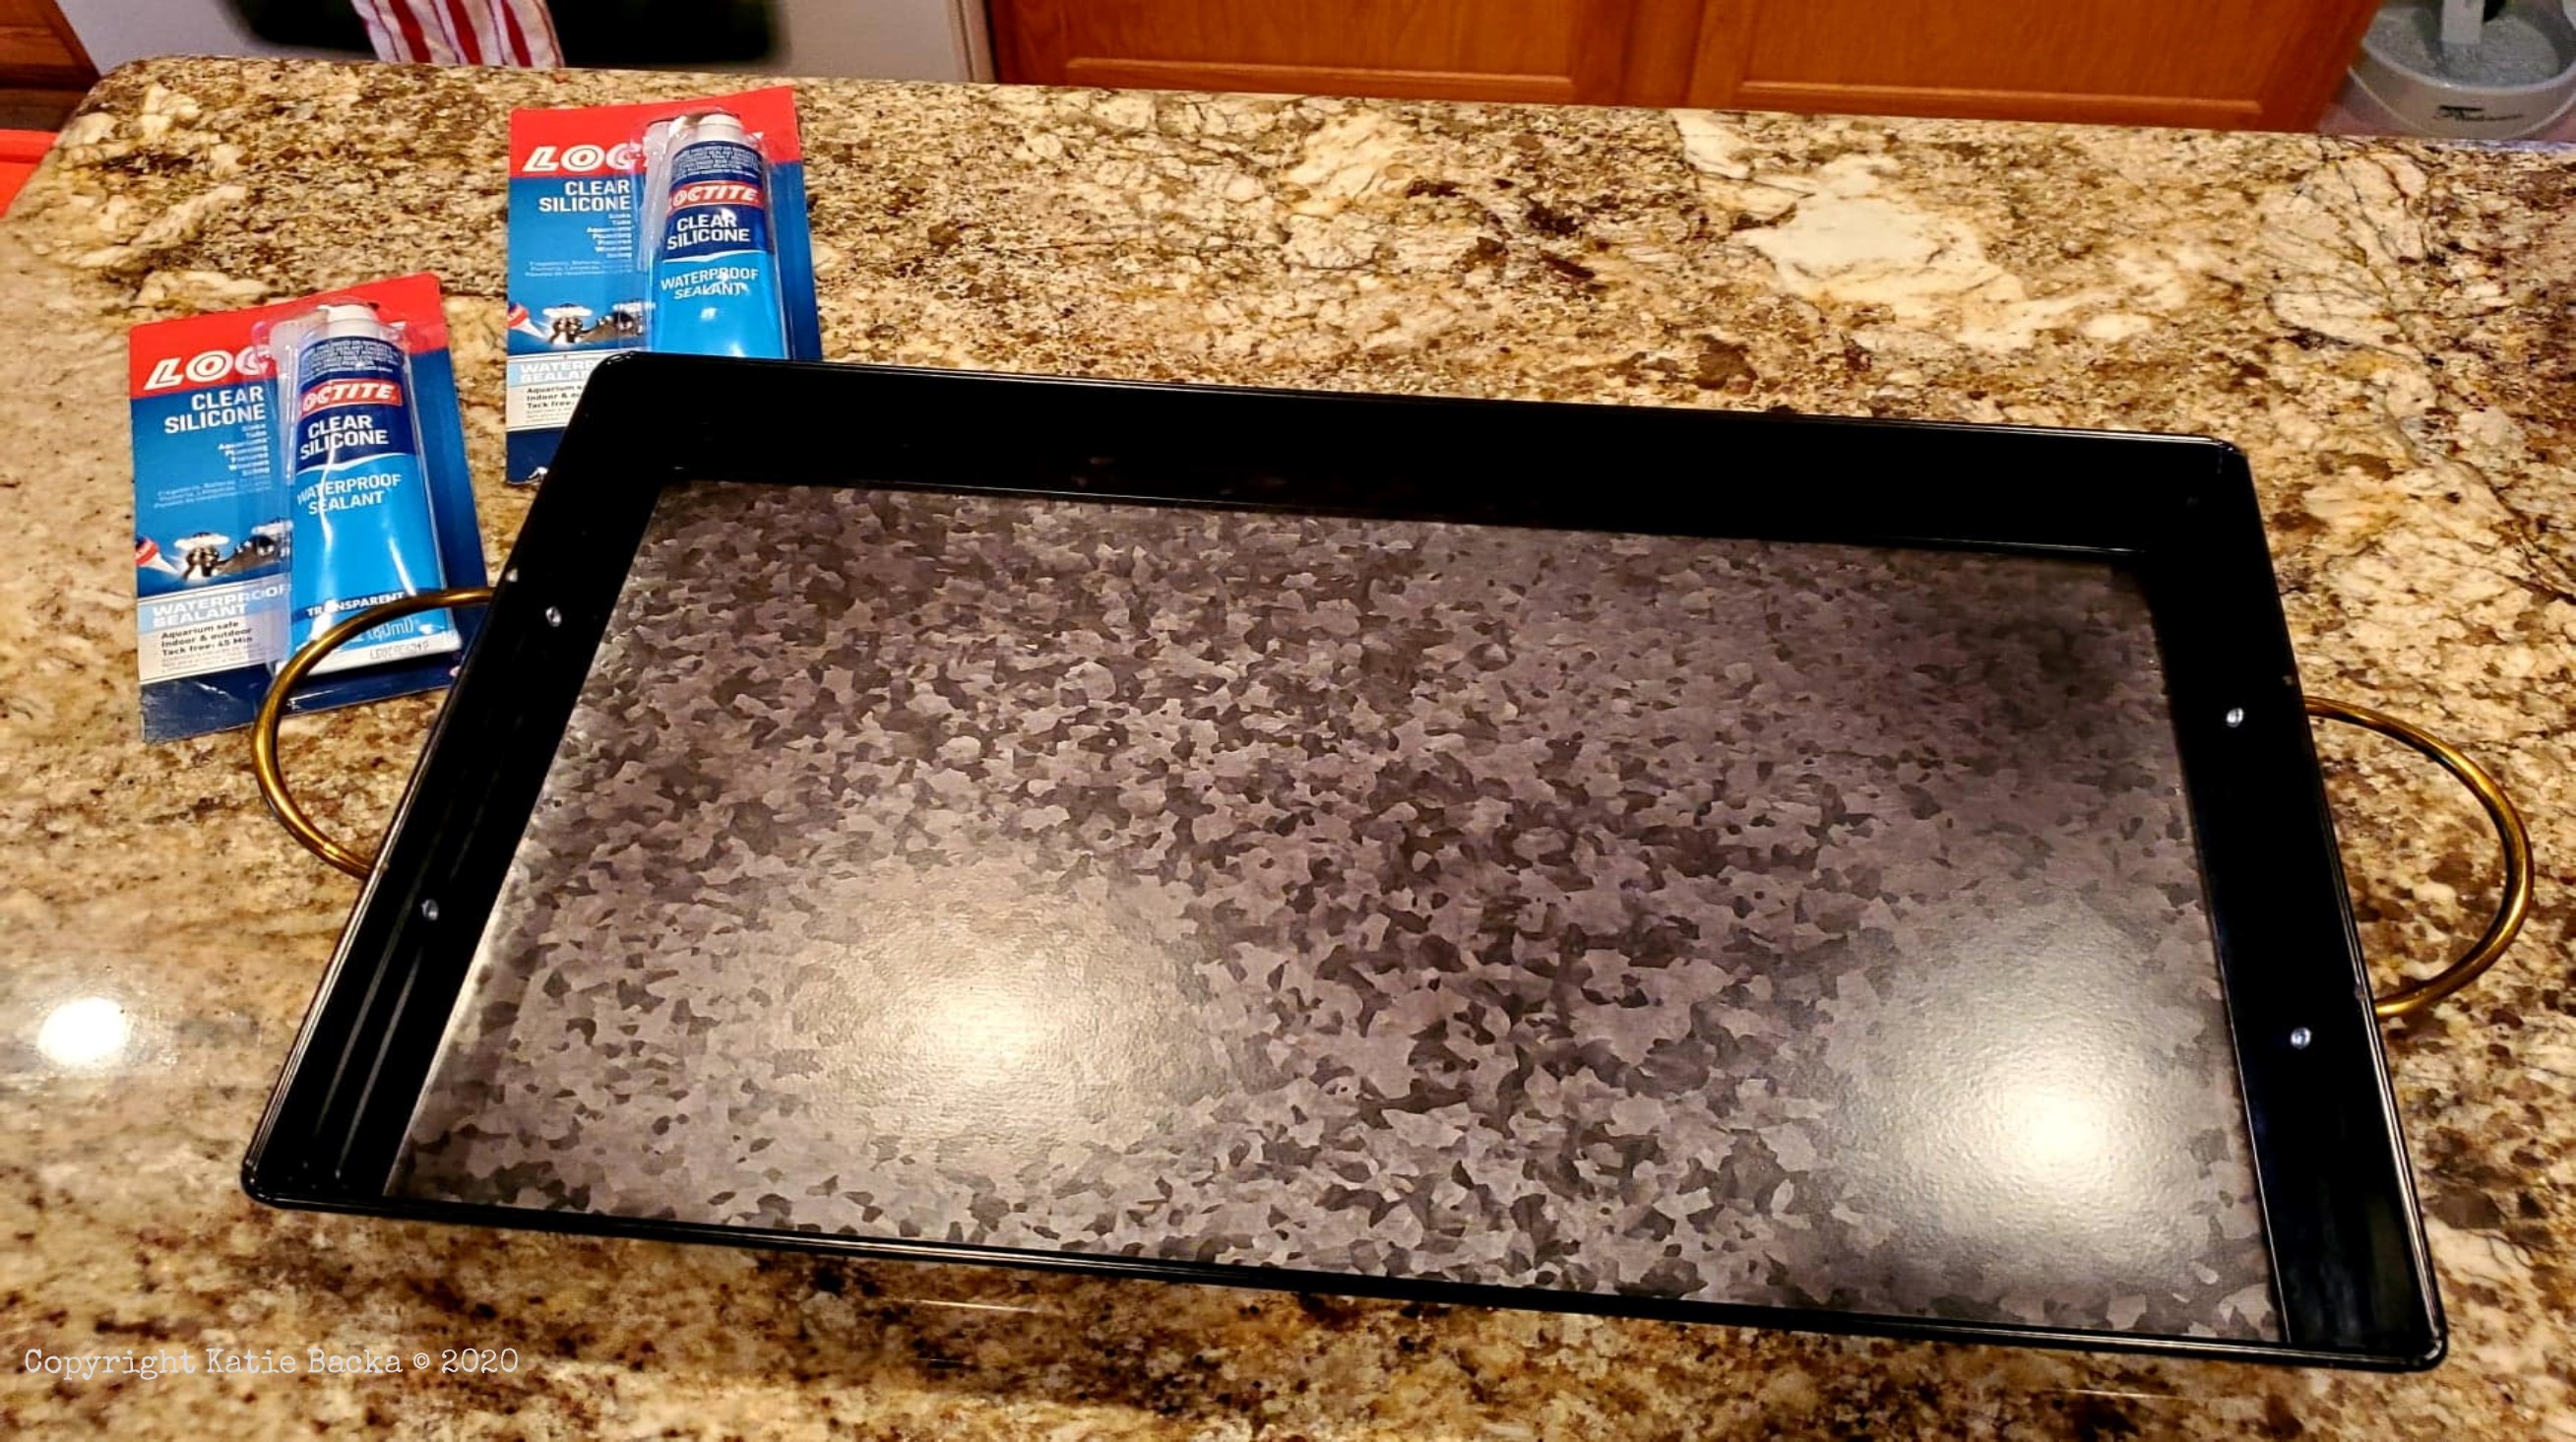
Remove all of the stickers from the tray, rinse off, and dry
Step 2
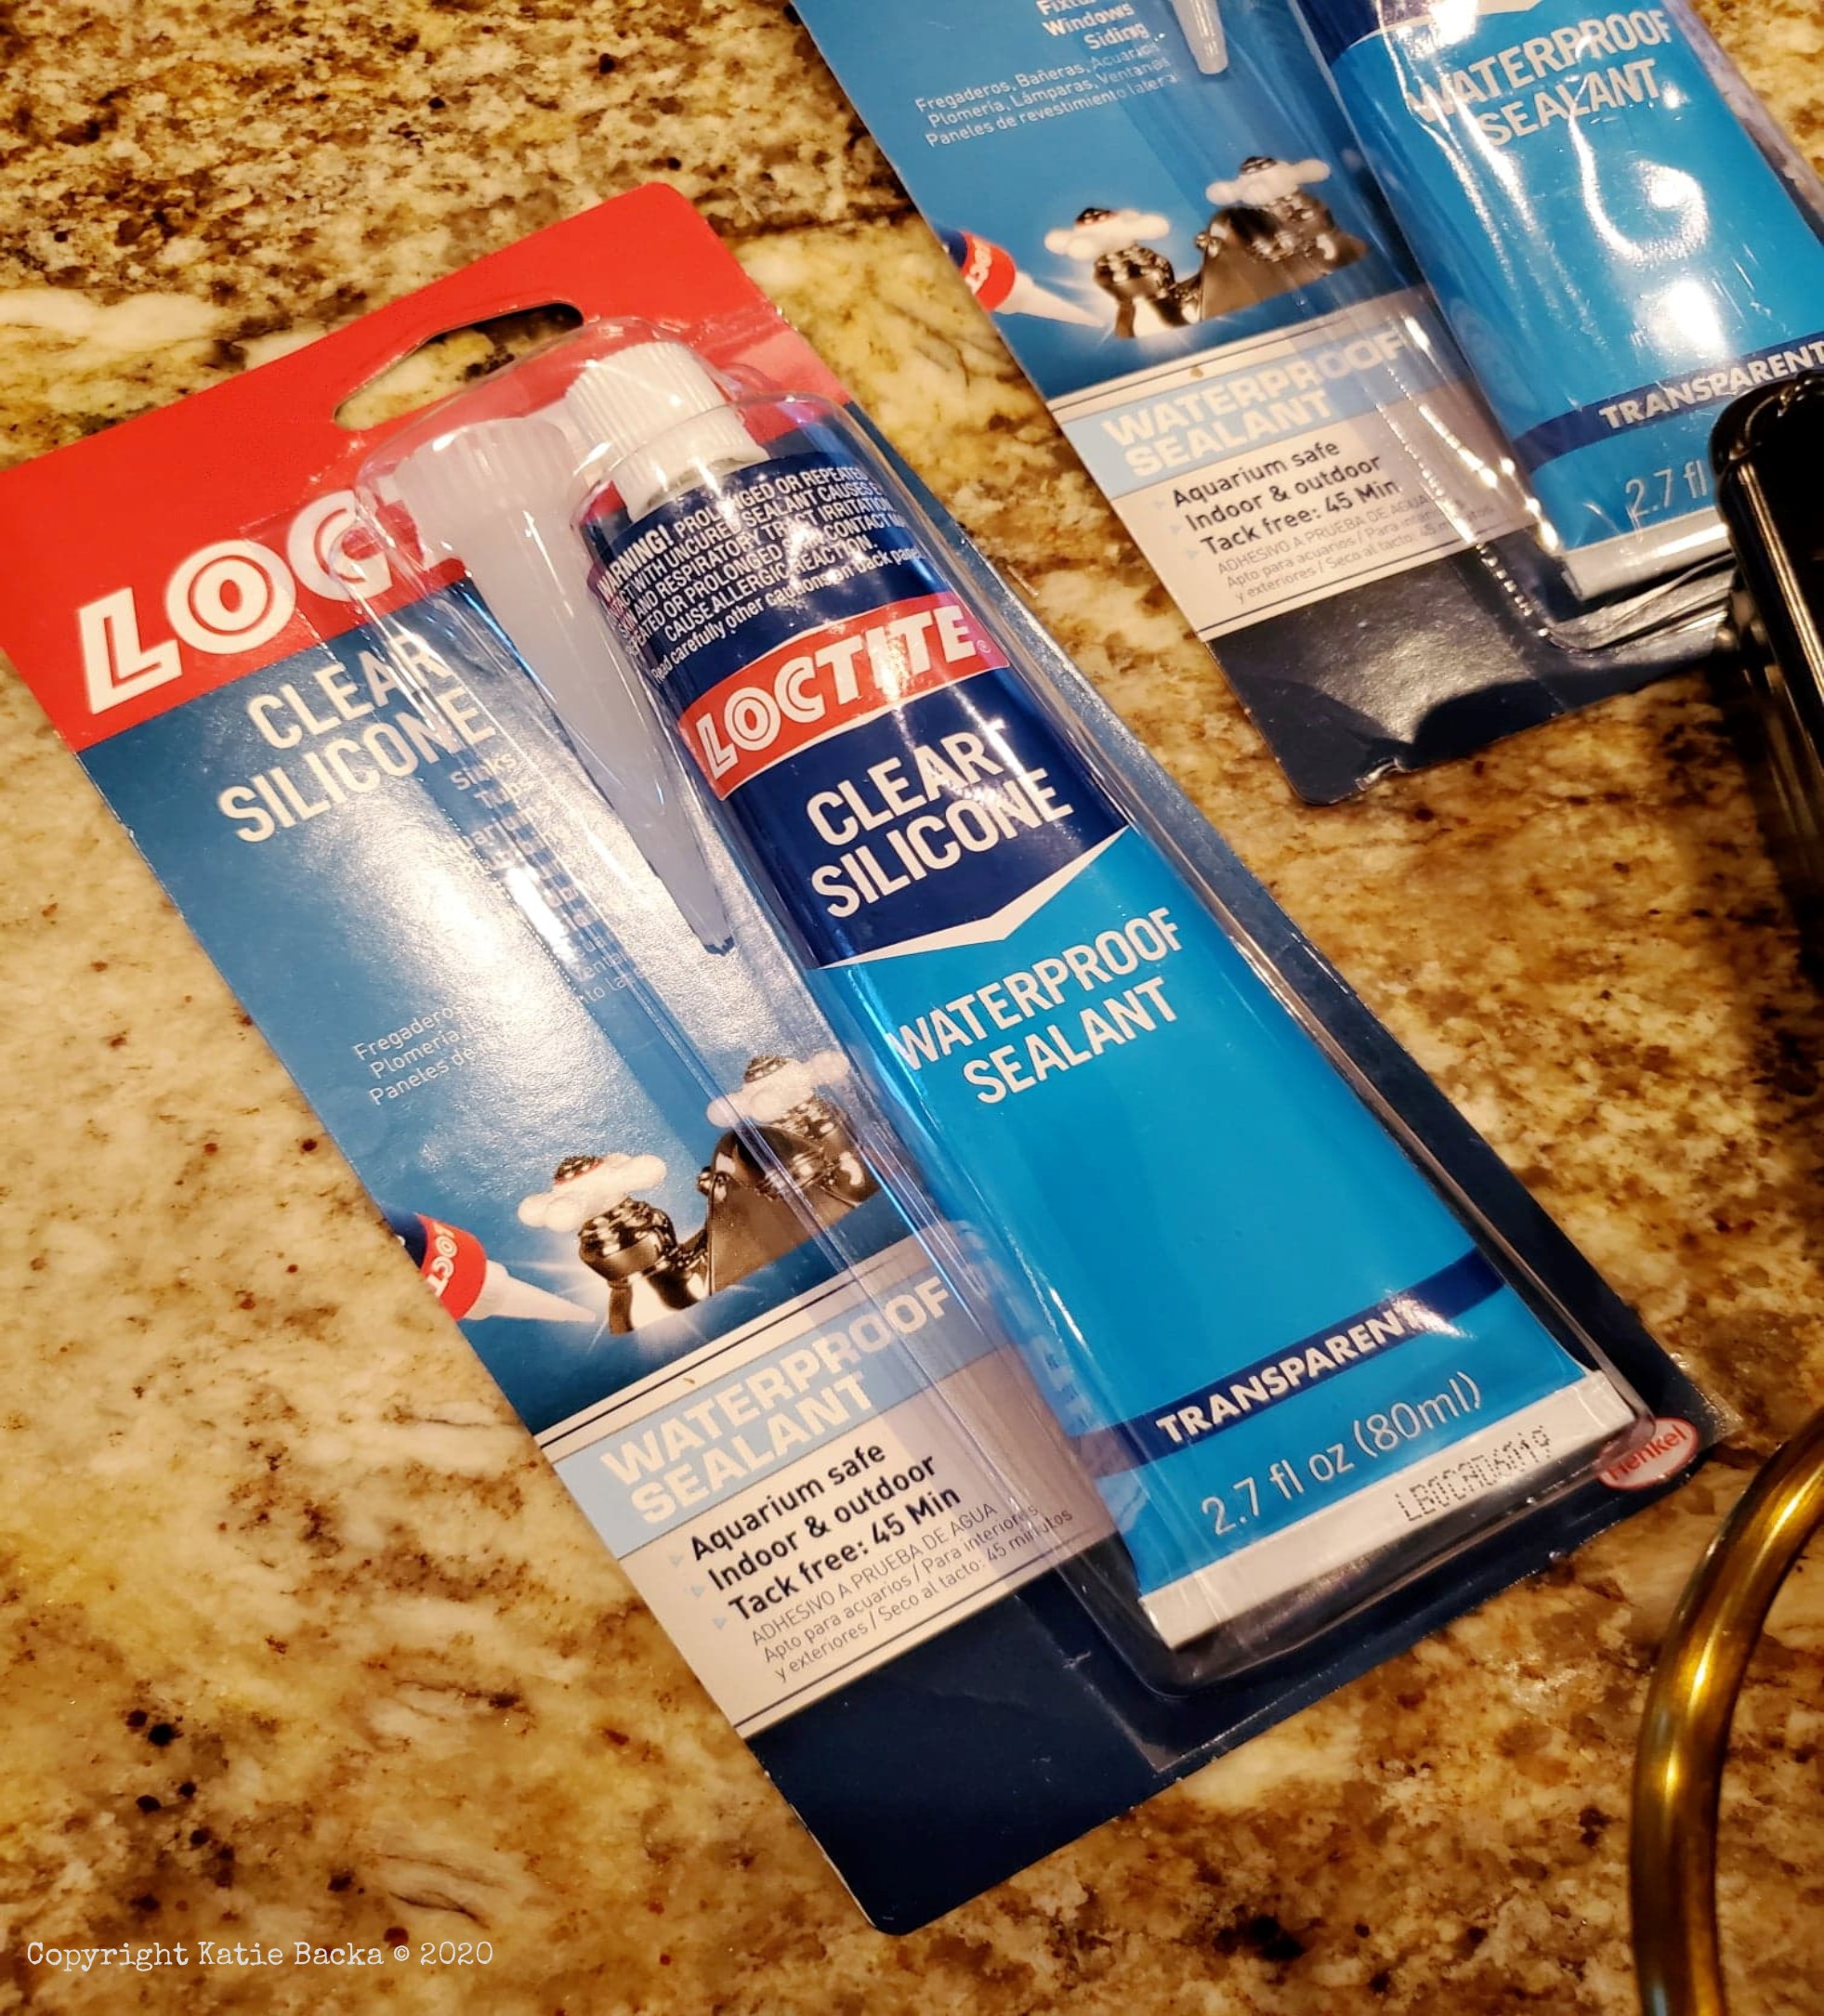
Use your silicone to seal the corners of the tray and the rivets where the handles attach - if you use a different tray, just make sure that you seal any seams to make it watertight
Step 3
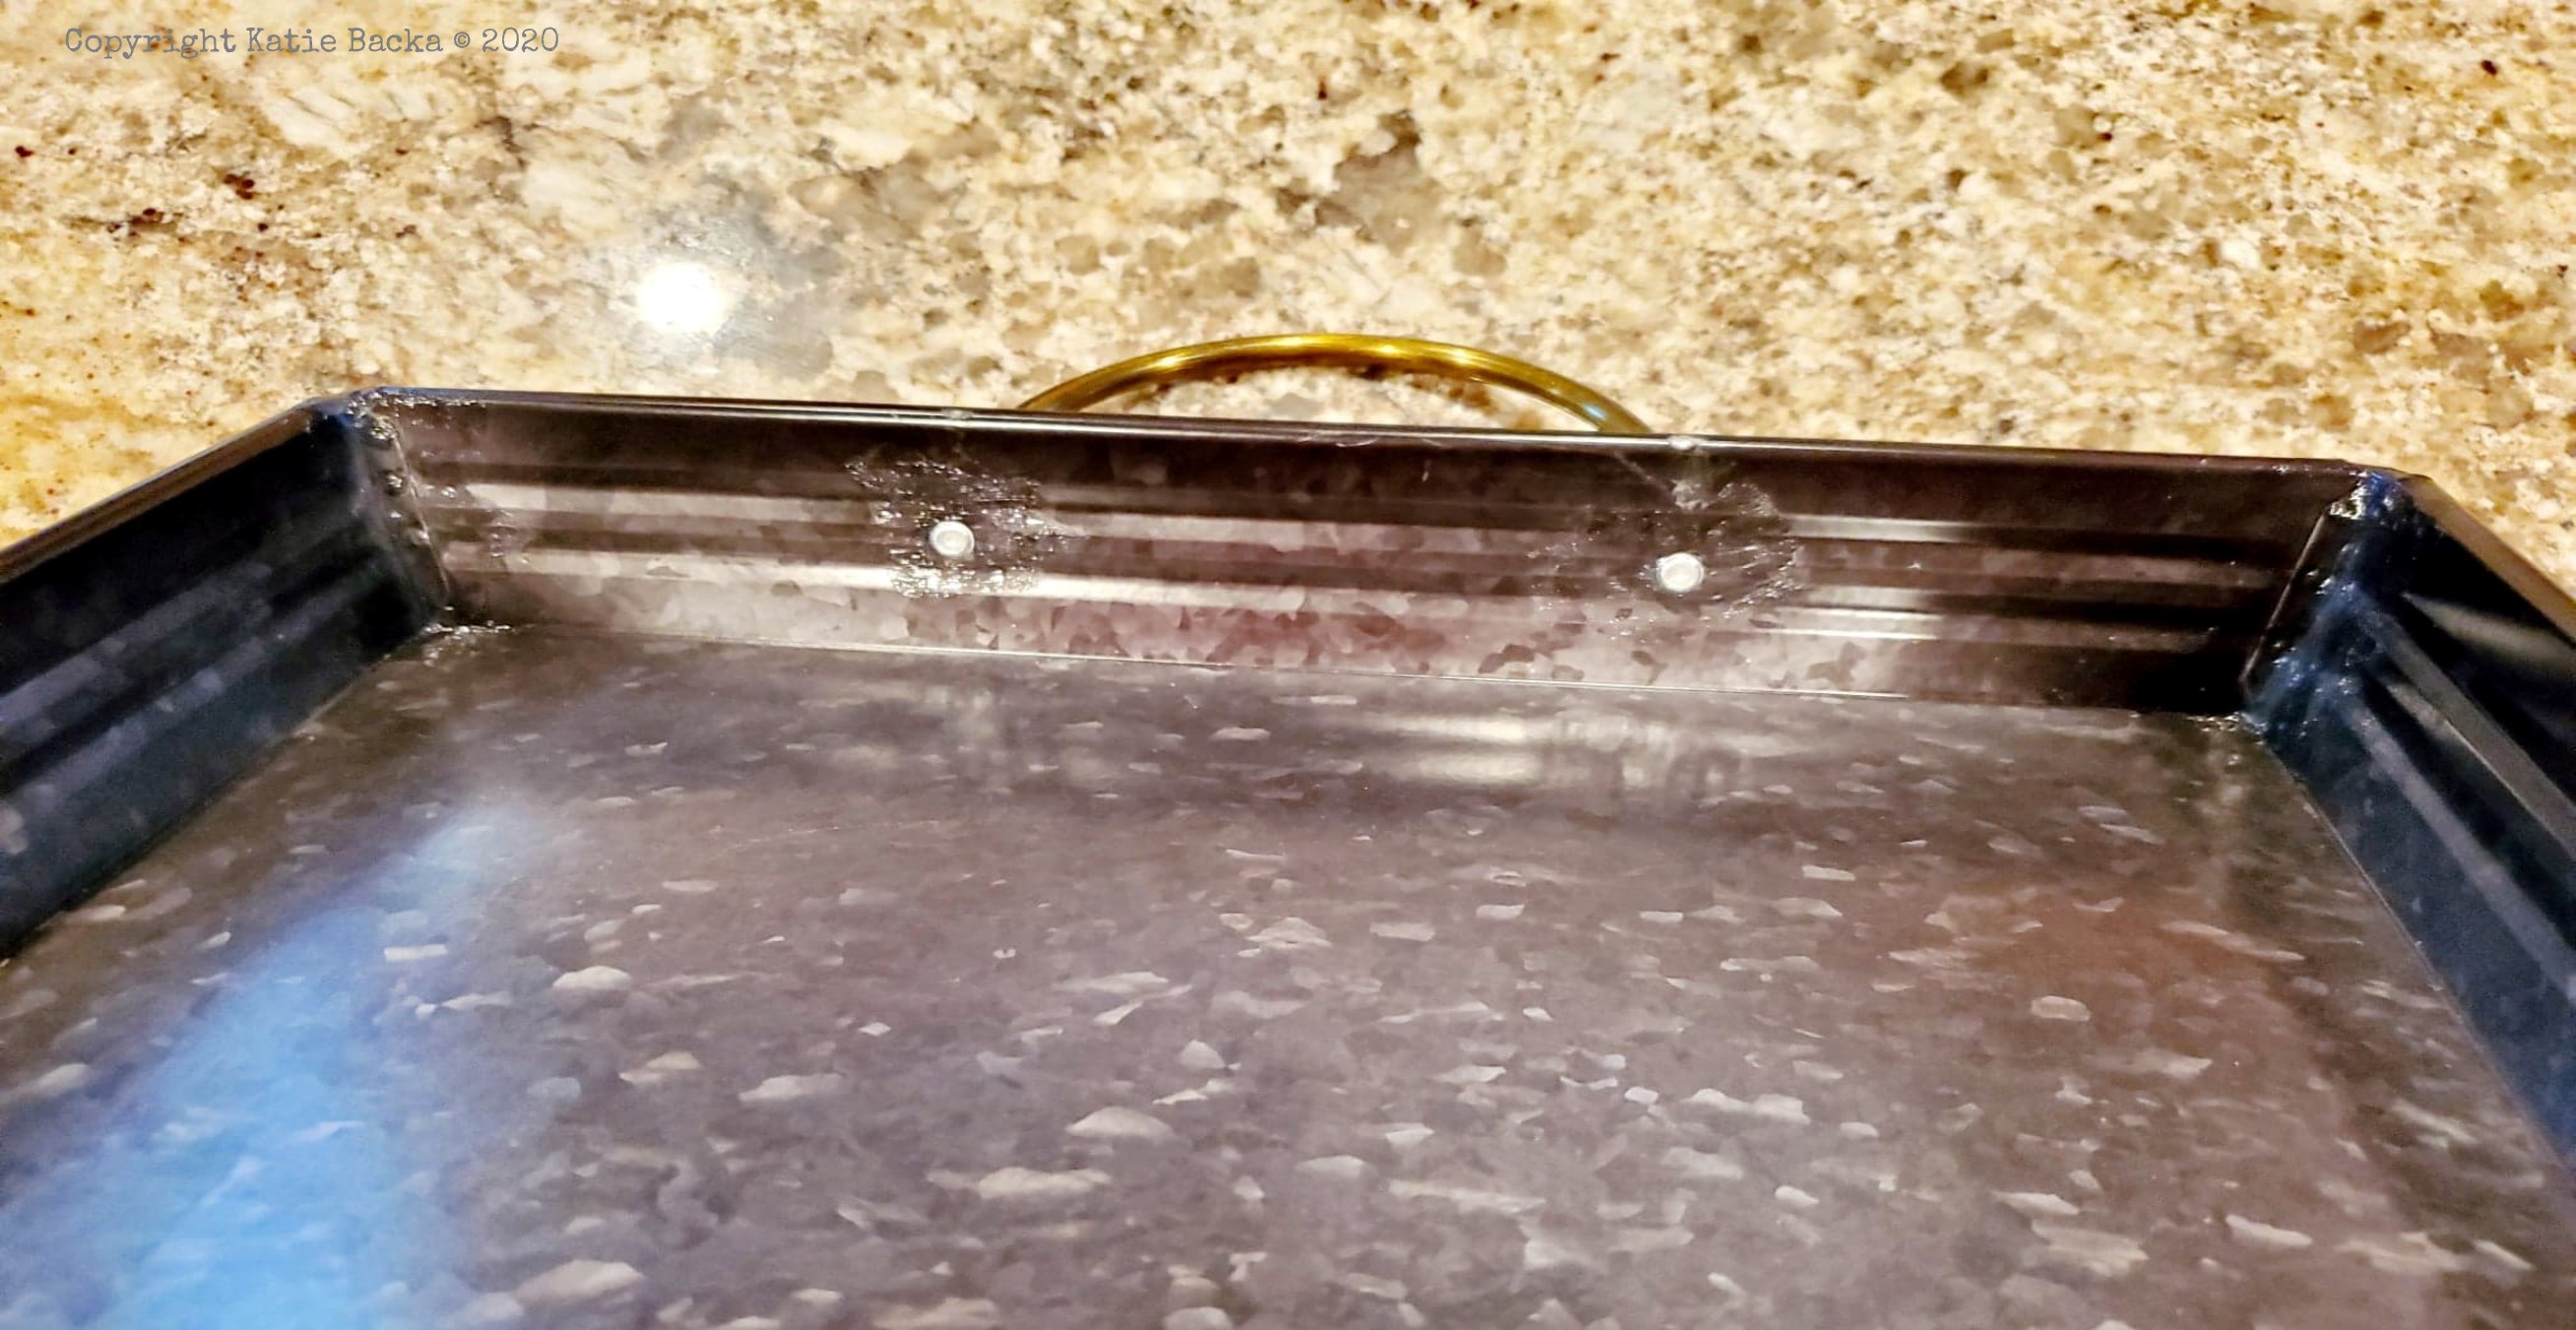
Allow the tray to cure for 24 hours
Step 4
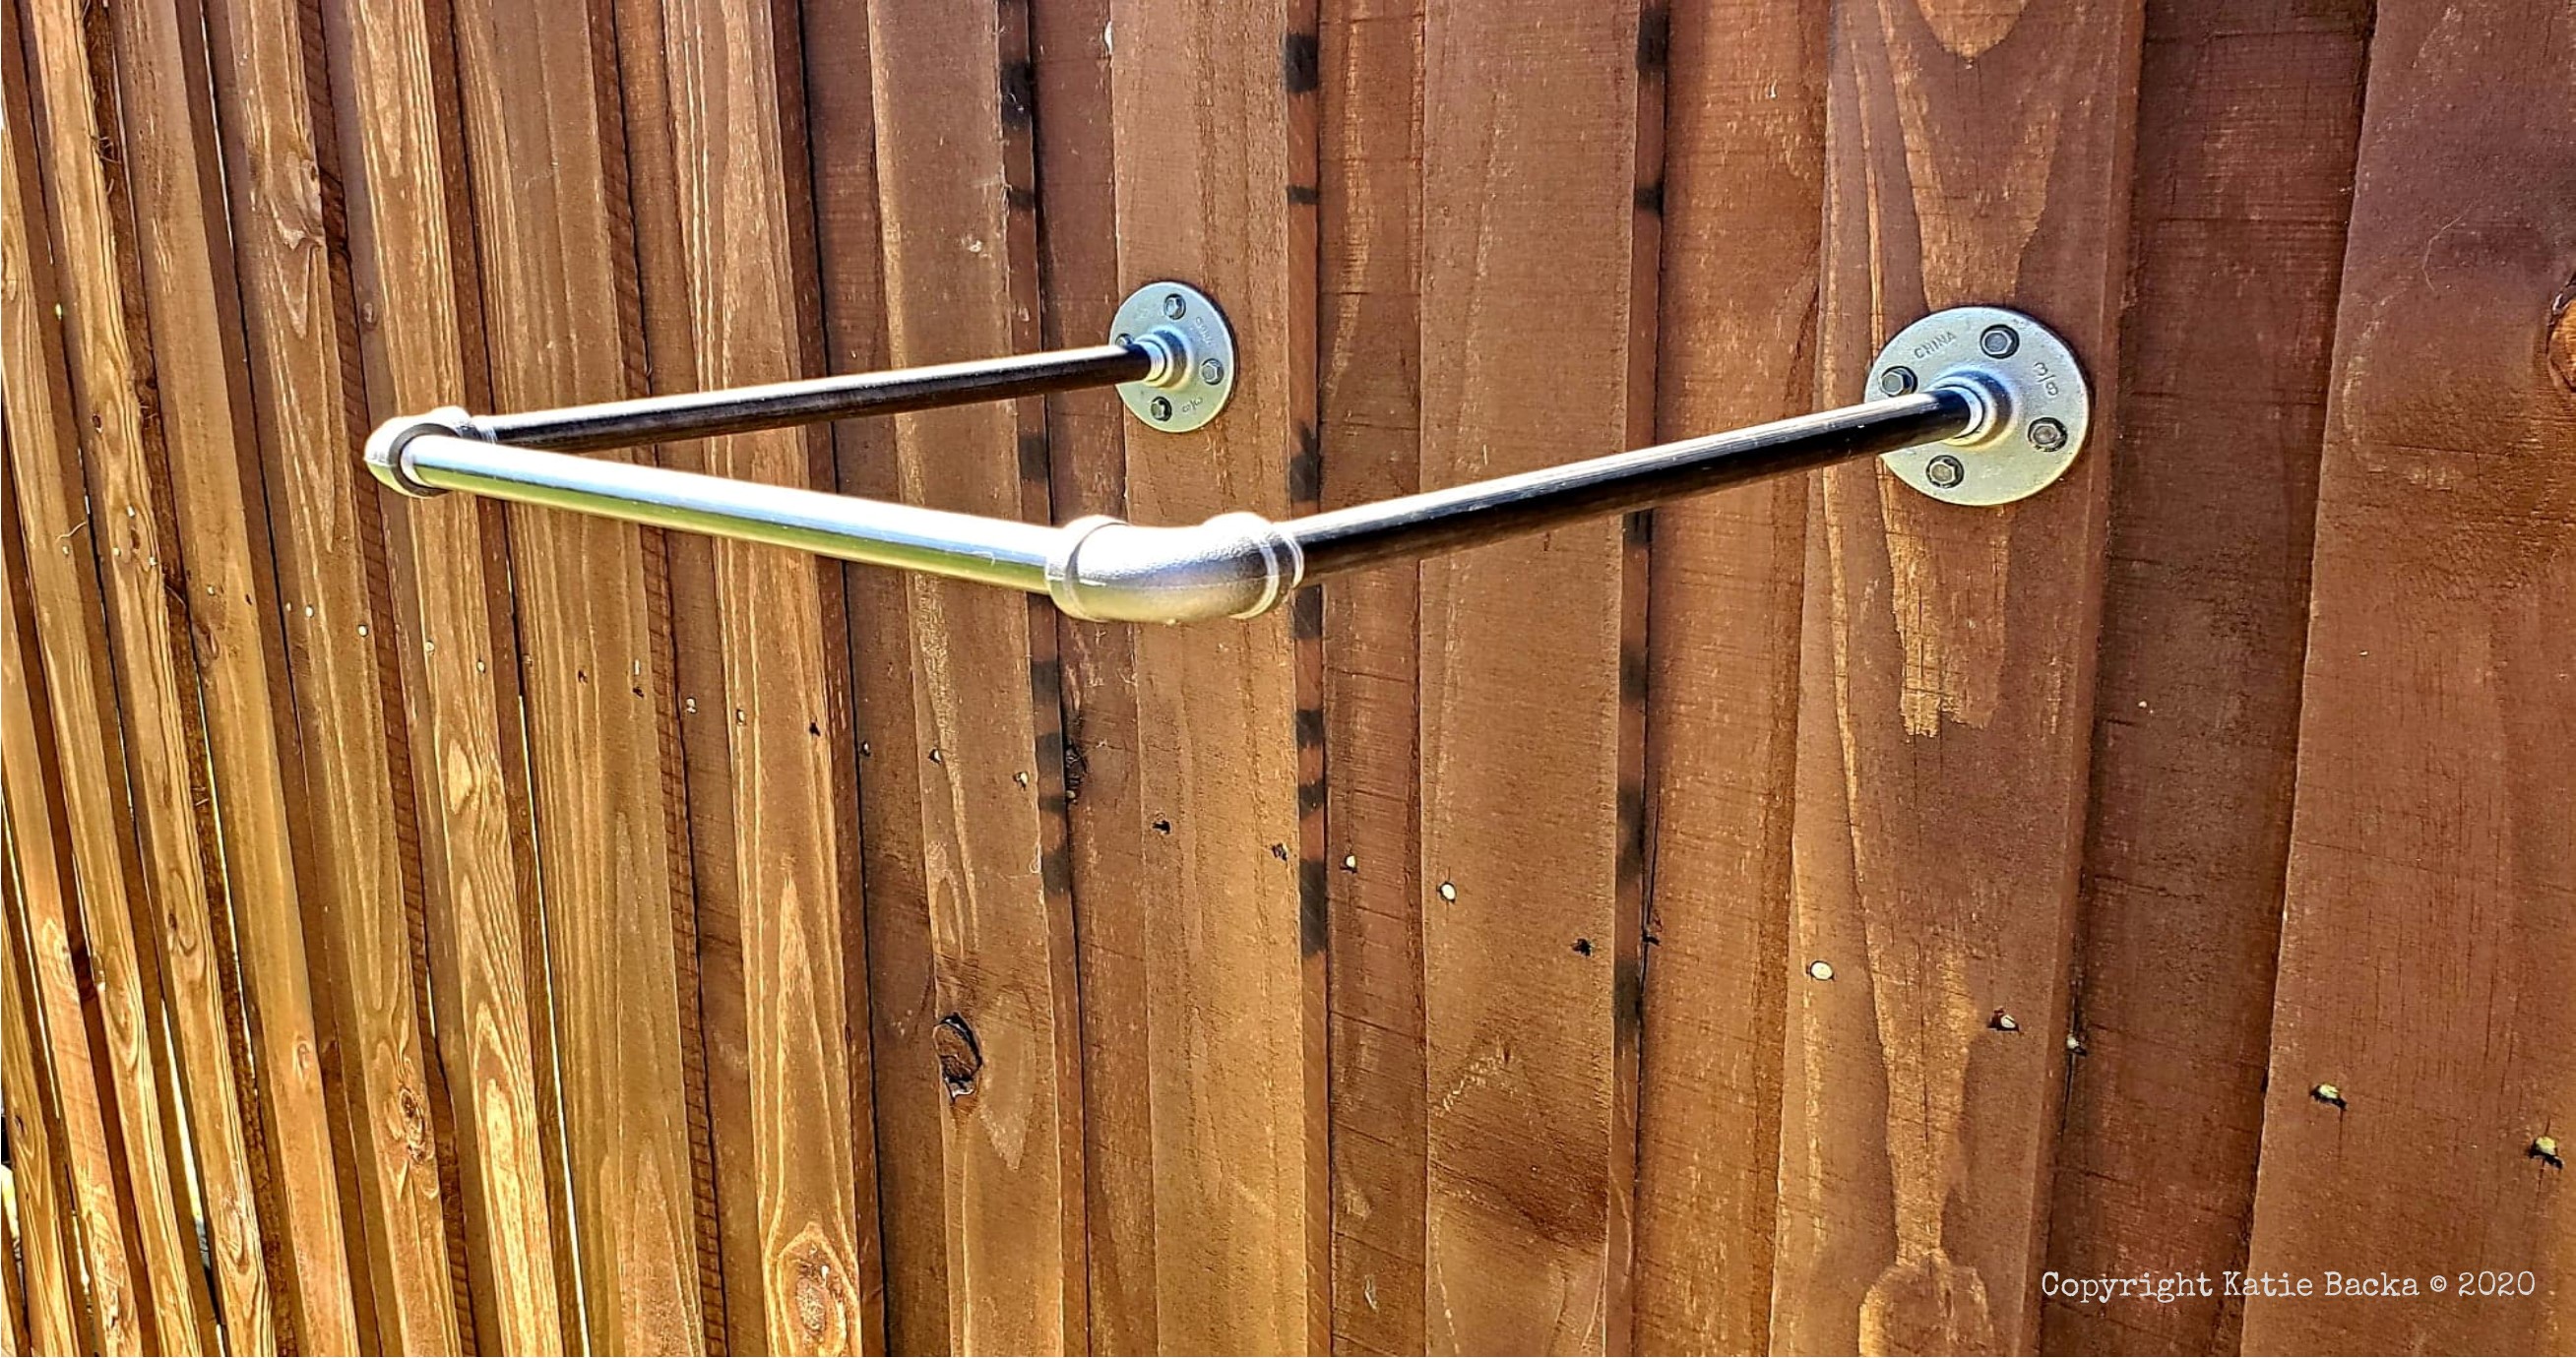
Take all of your iron pipe pieces and build the shelf - each piece can be screwed/twisted into place by hand - then secure with screws
When you choose a spot for your bird bath, keep in mind that it *uses* power but does not *store* power, so make sure it's somewhere that gets DIRECT sunlight for most of the day!
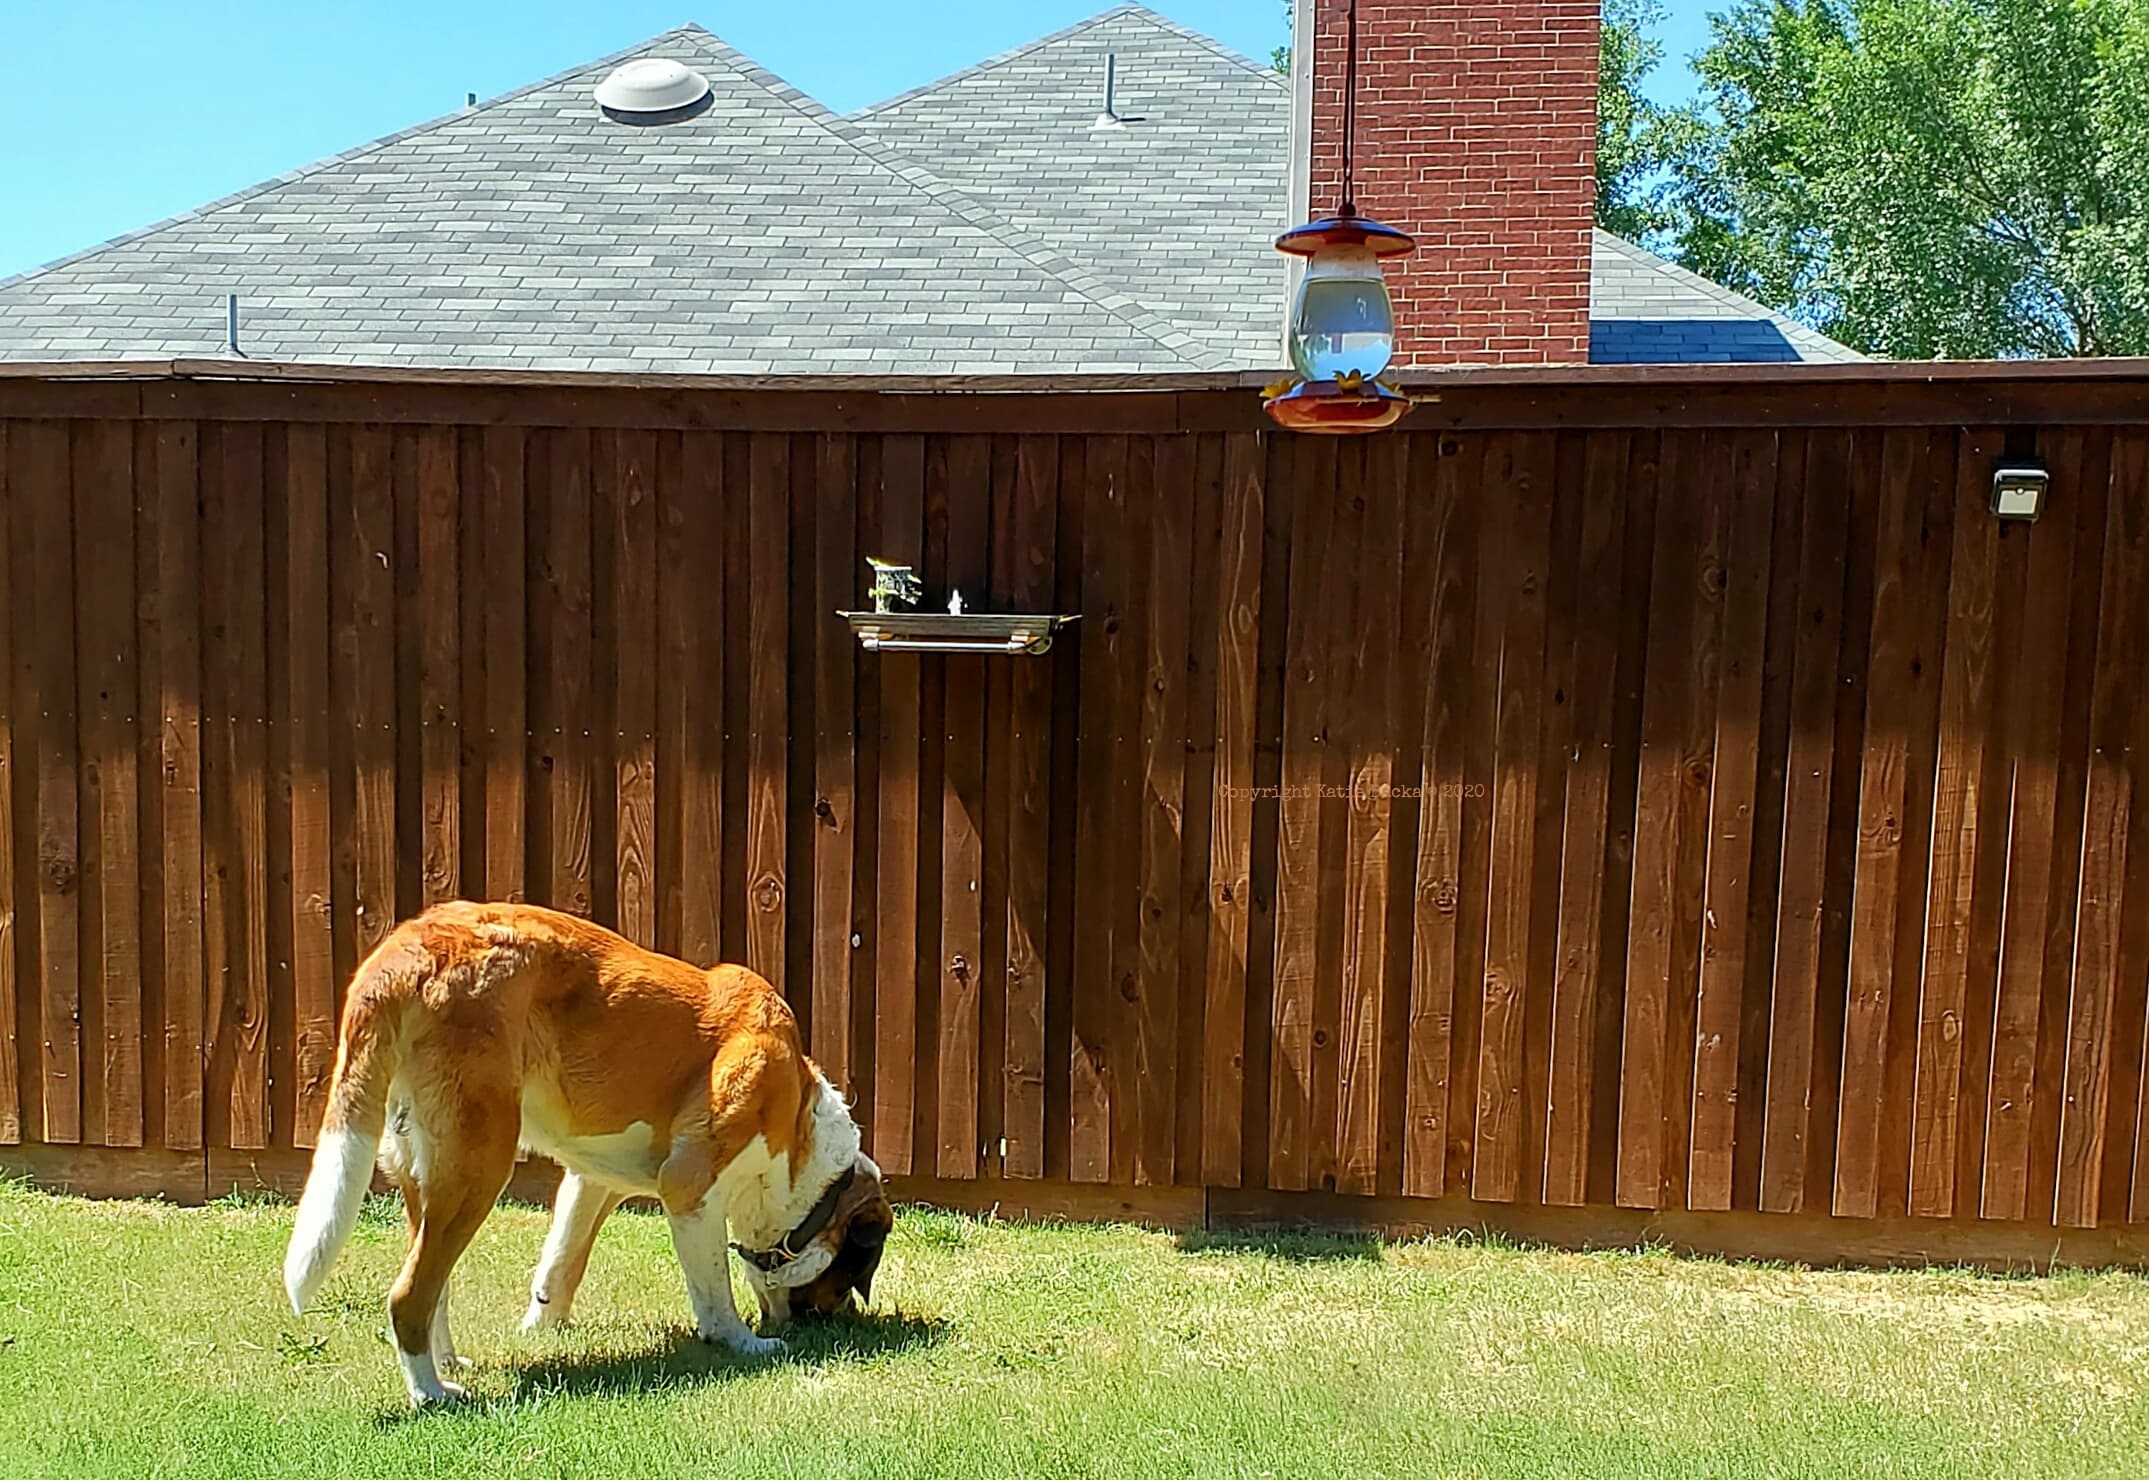
Also make sure that it's mounted well above your floofer and their tail (if you have one)
Step 5
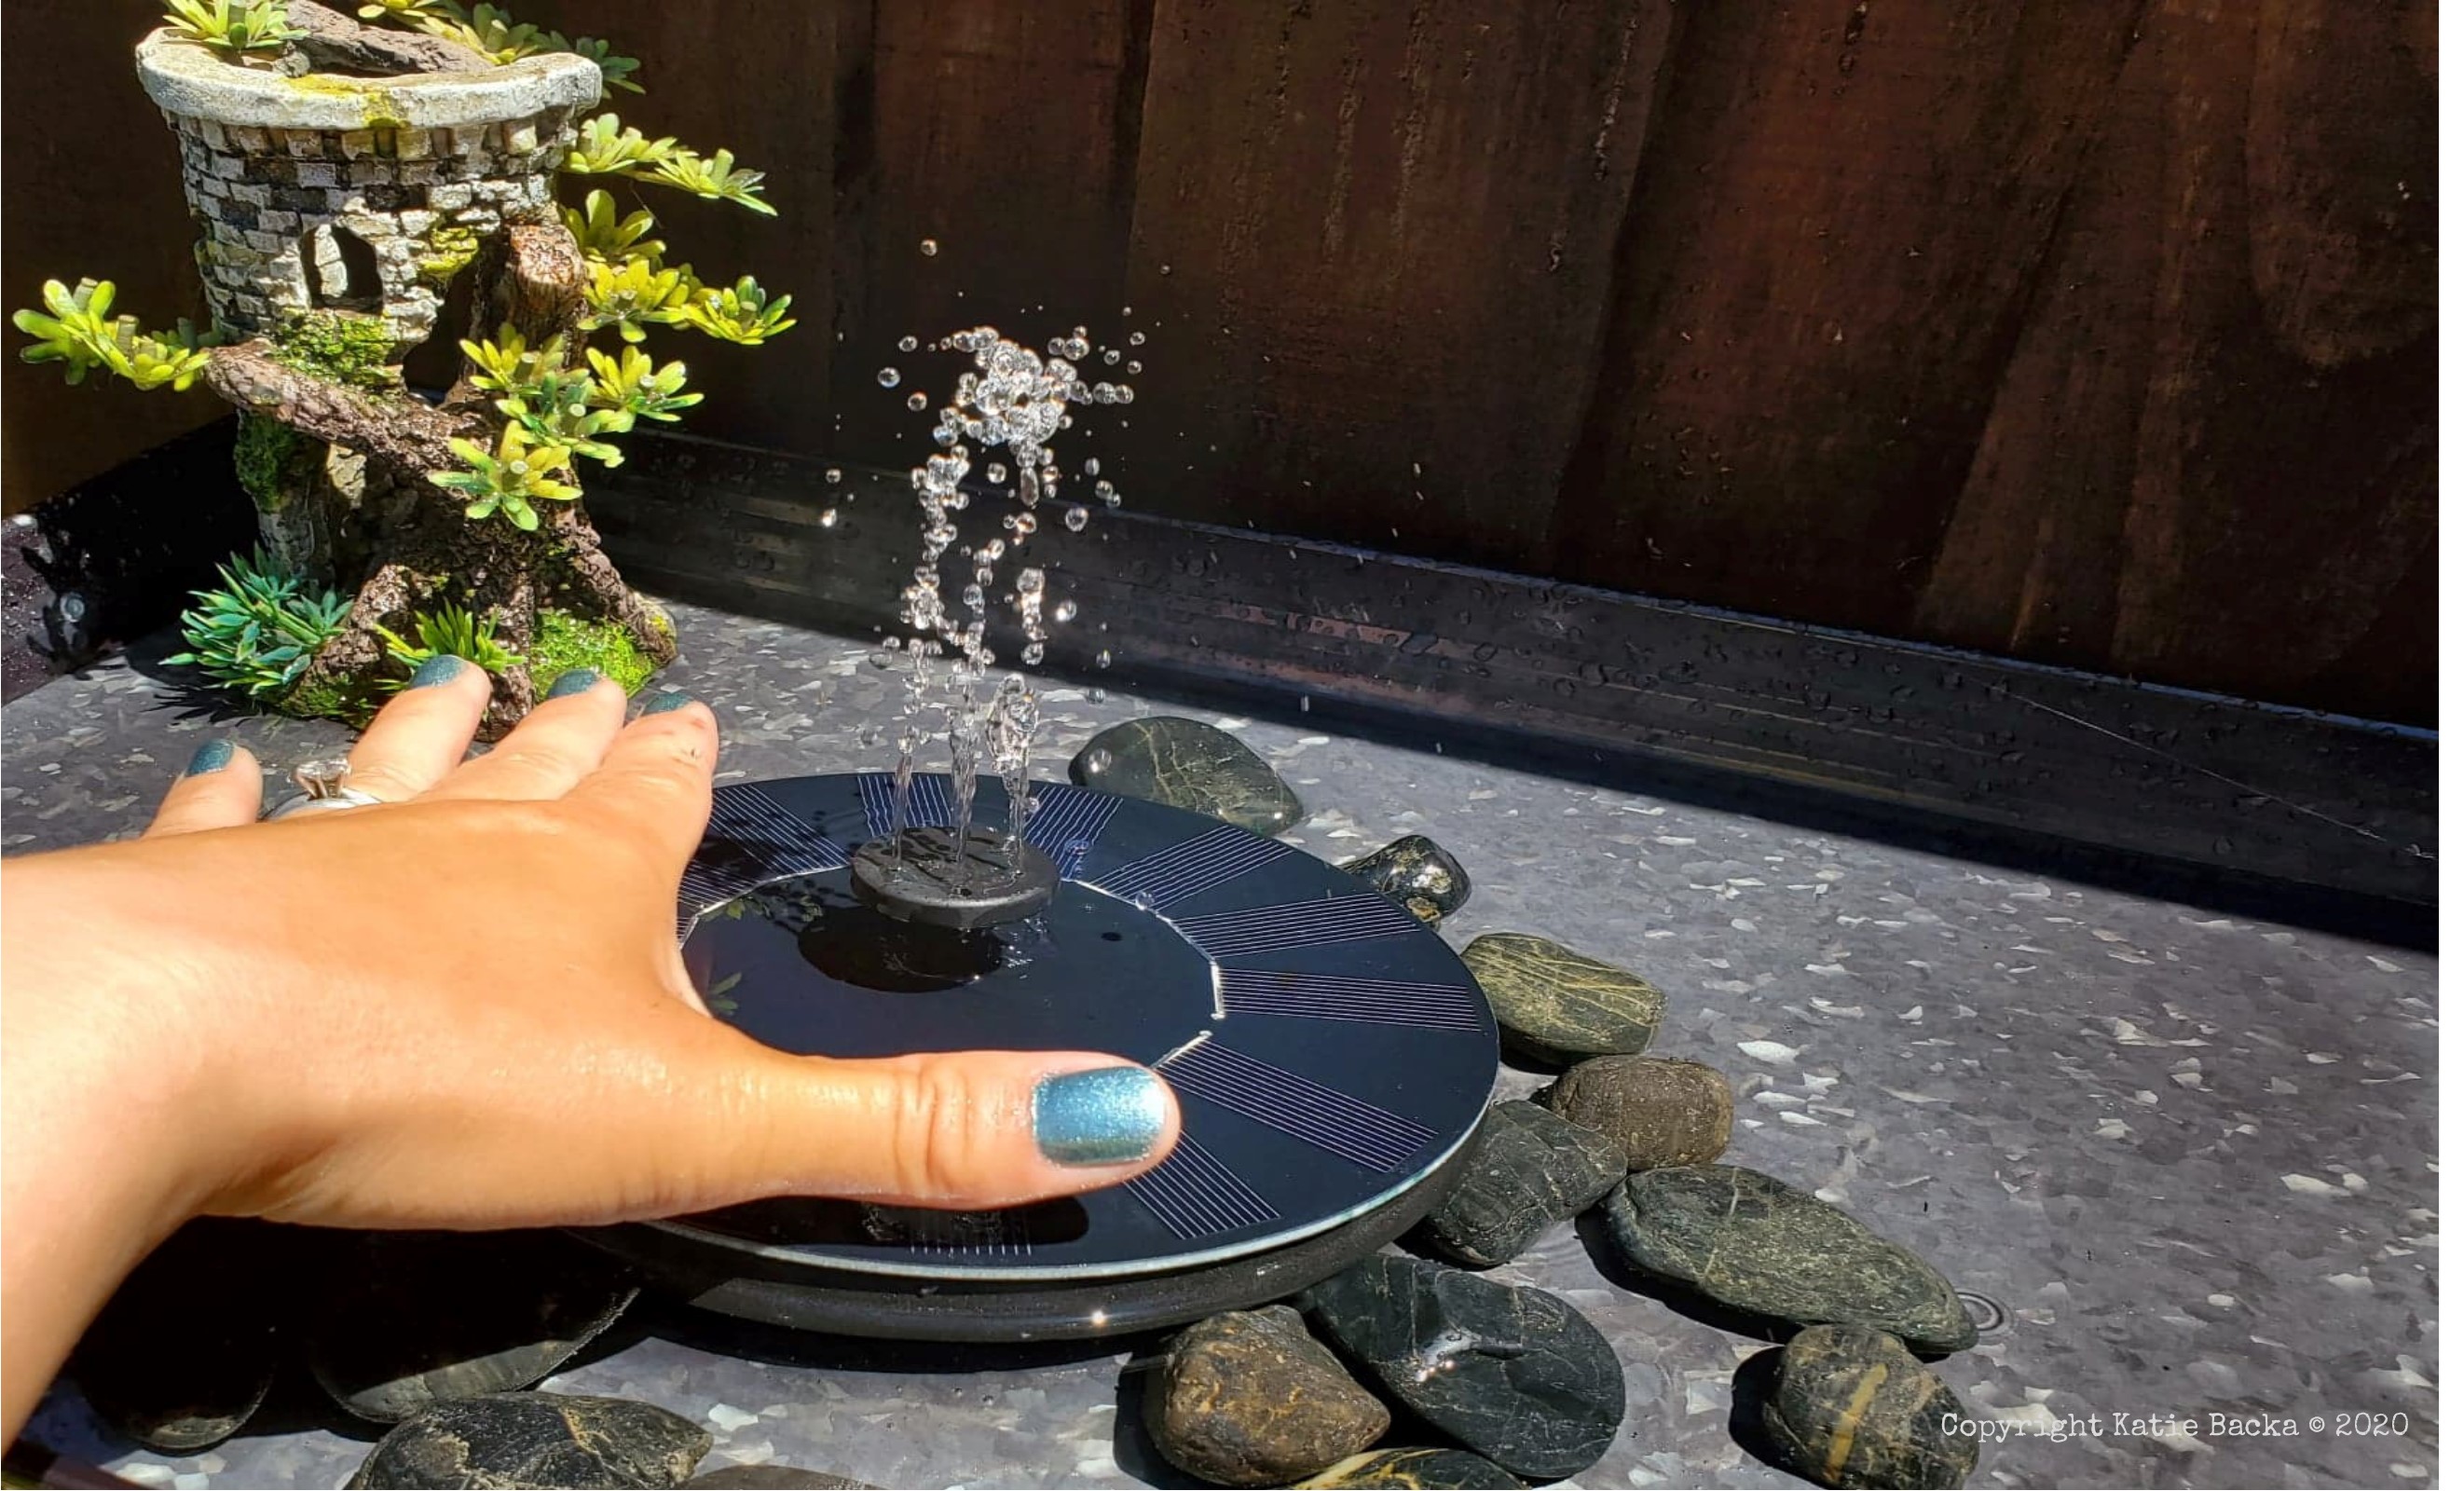
Decorate!!
I put my hand in the picture to give it some scale - but just in case you're worried about it, the temperature today in Texas is in the 90's, and even at the hottest part of the day, the water was never too hot to touch!
Step 6
The water fountain comes with 3 different sprinkler heads, but it also works without one at all!
It's been so windy here lately, that the water was getting blown off to one side of the tray, so I decided to keep the fountain as low as possible.
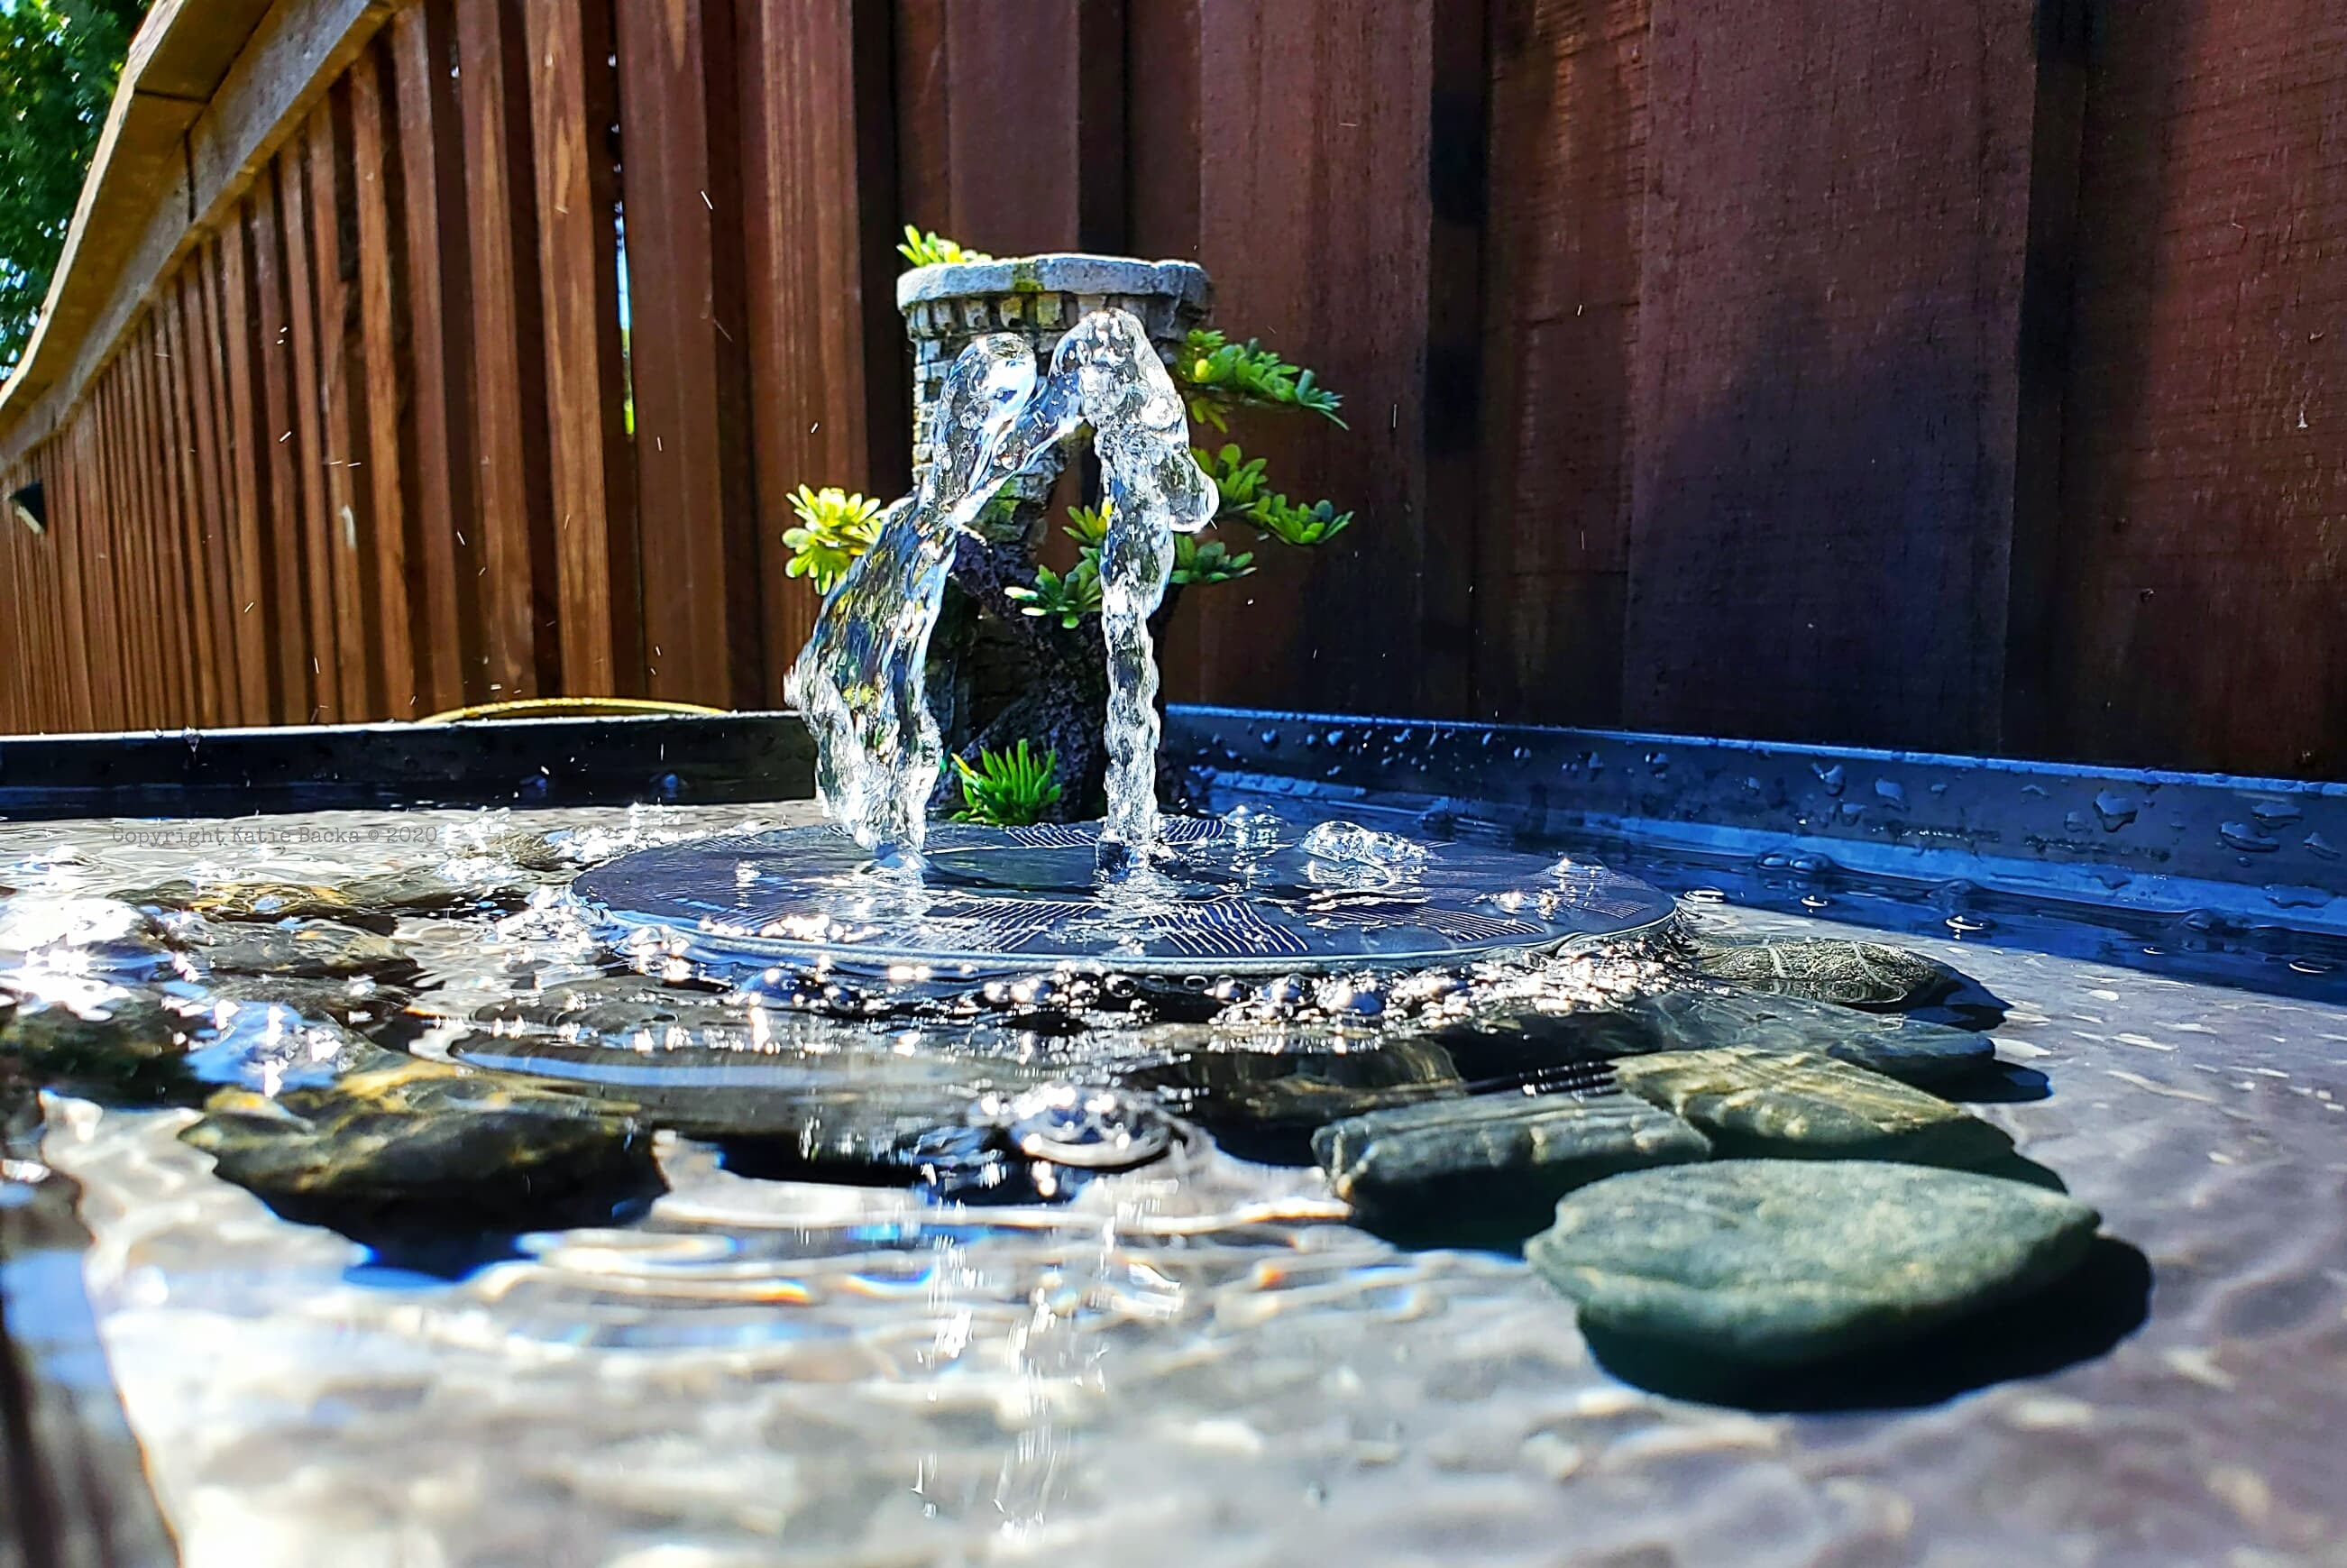
ENJOY!!
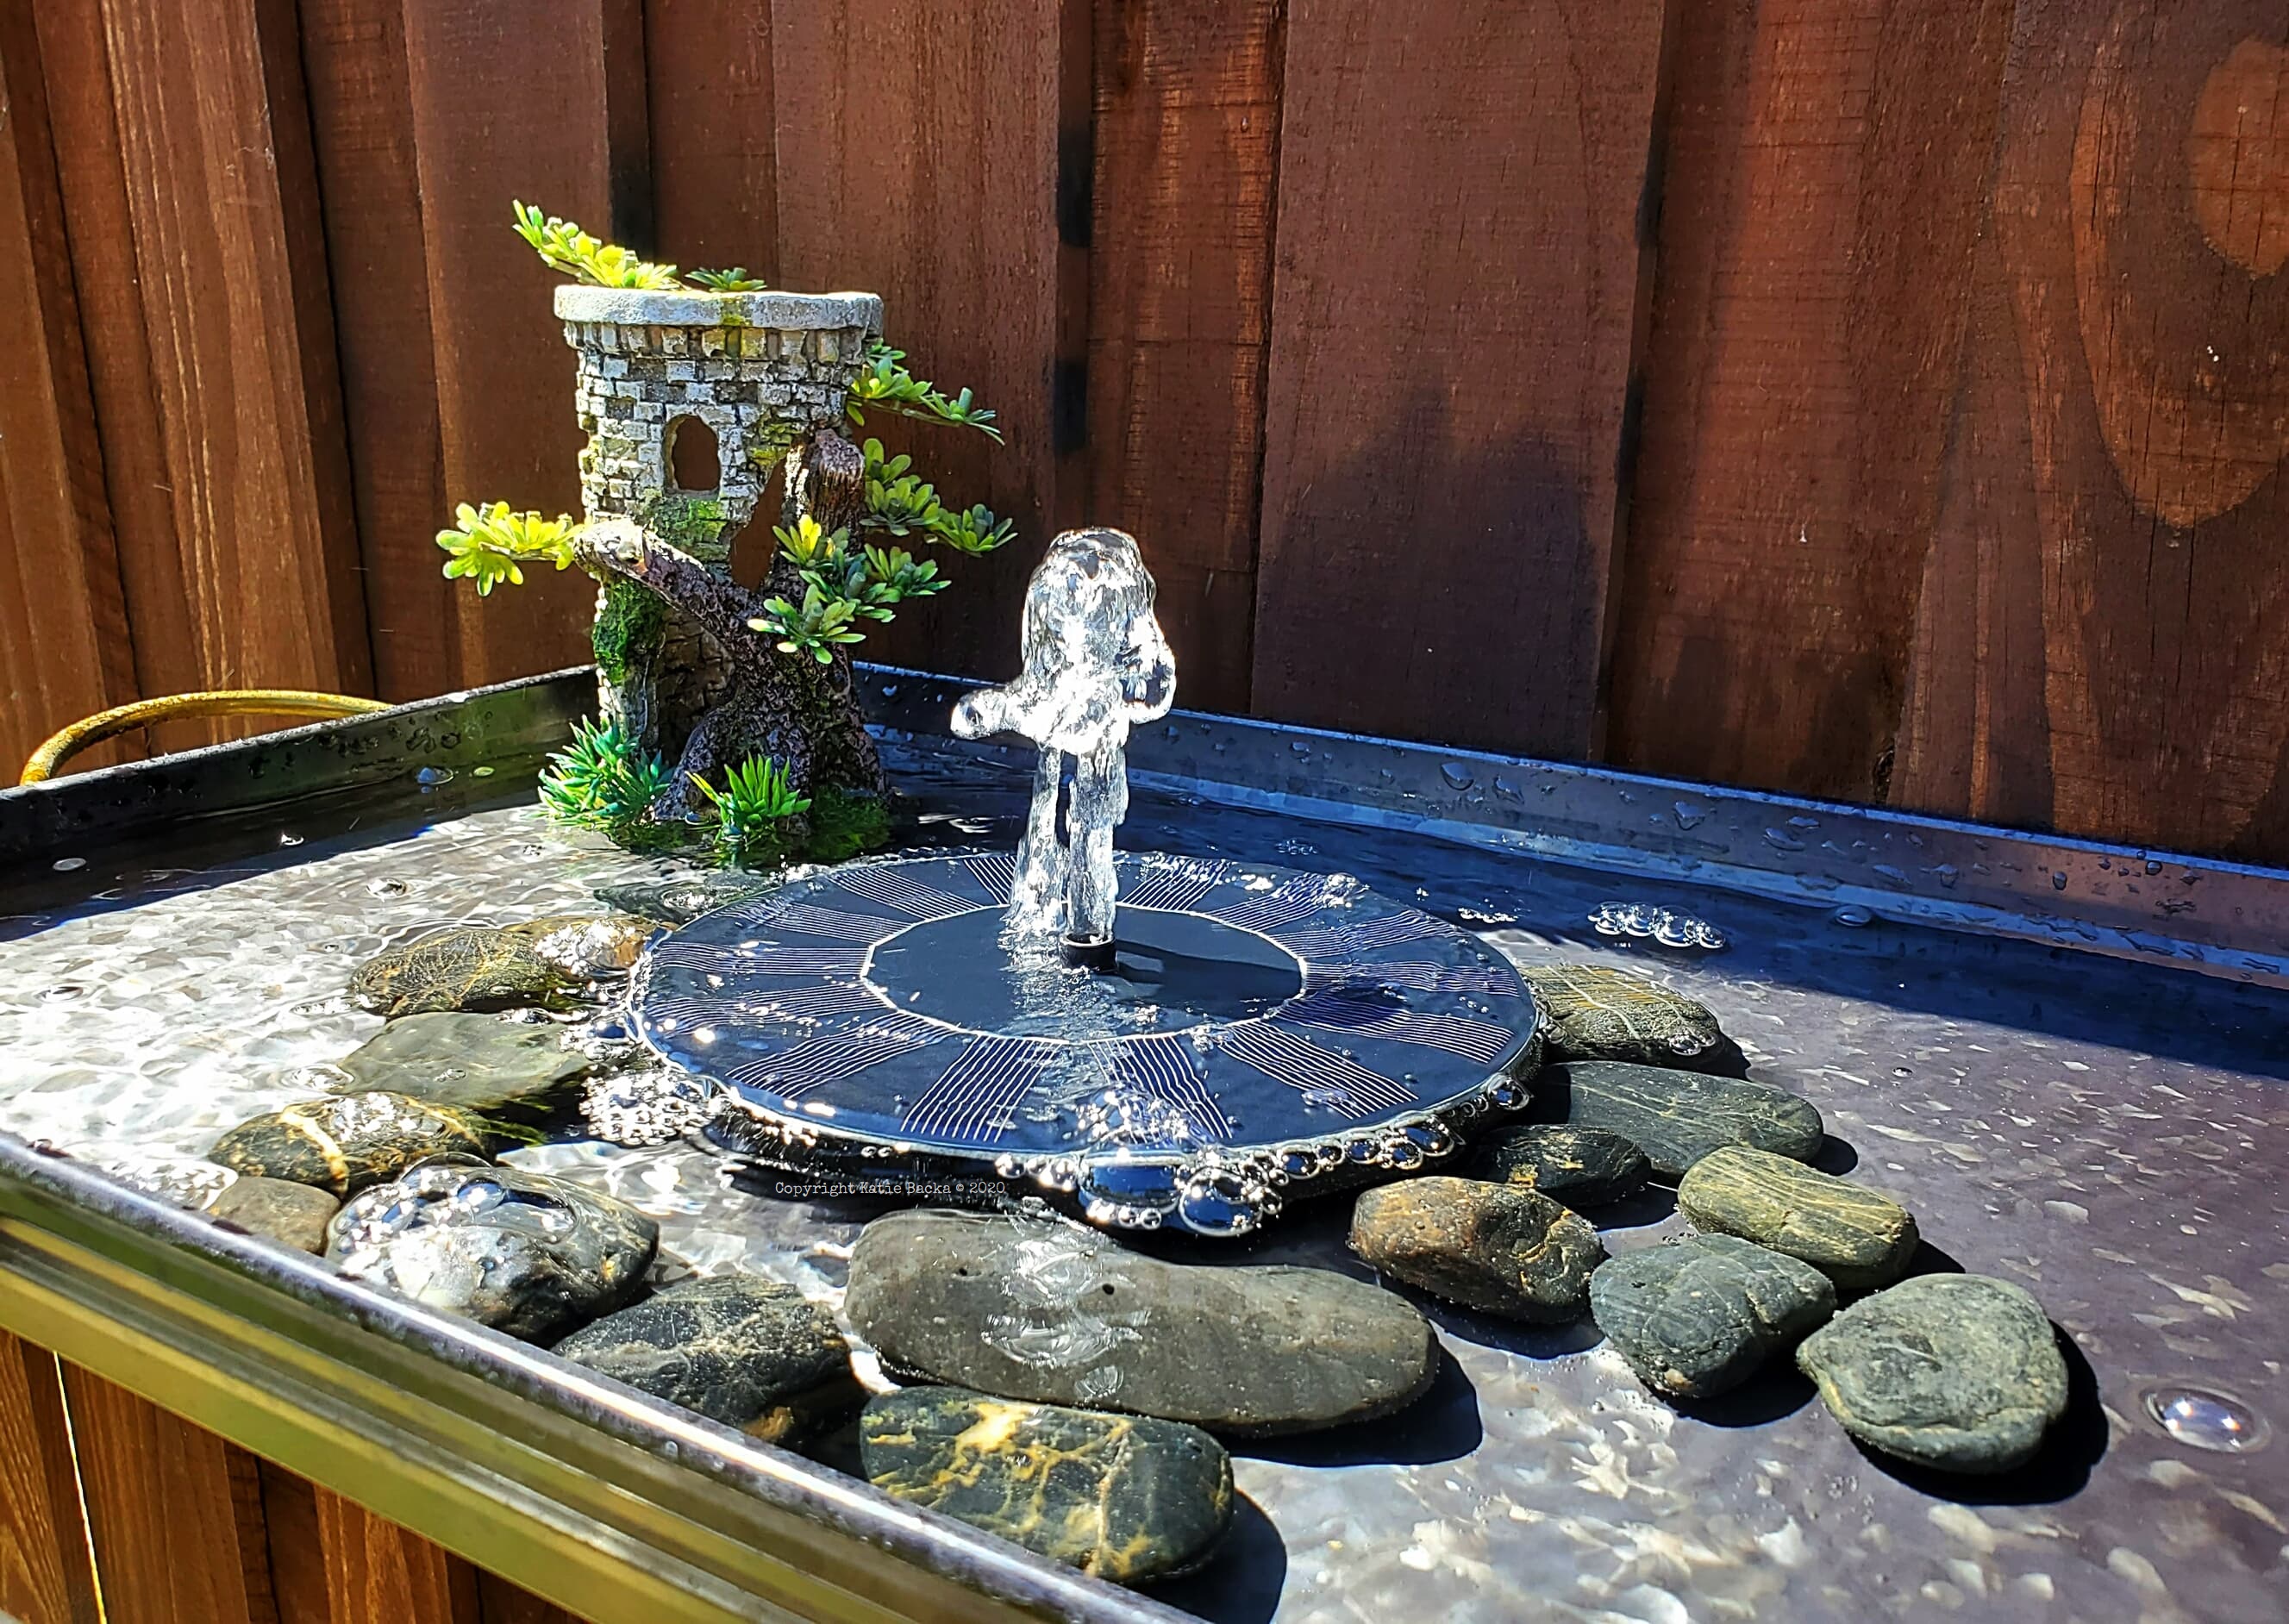
I hope ya'll dug the info!
Remember to keep an eye out for new content by liking and following my Facebook page!!
Stay safe & healthy!
Katie